Send to Power Automate
This build tool enables data to be send to a Power Automate automation, and (optionally) sent back to the viabl.ai decision session. The wizard is built to efficiently take the user through the setup process across both viabl.ai and Power Automate.
Step 1: Decide wait type
There are two options here:
- Force Wait: This is where viabl.ai will suspend inference until Power Automate sends a response to restart the flow (note, this can only be used in Silent and Chat deployment types).
- Force No-Wait: This is where the data will be sent to Power Automate and viabl.ai will continue with inference, ignoring anything Power Automate my try to respond with.
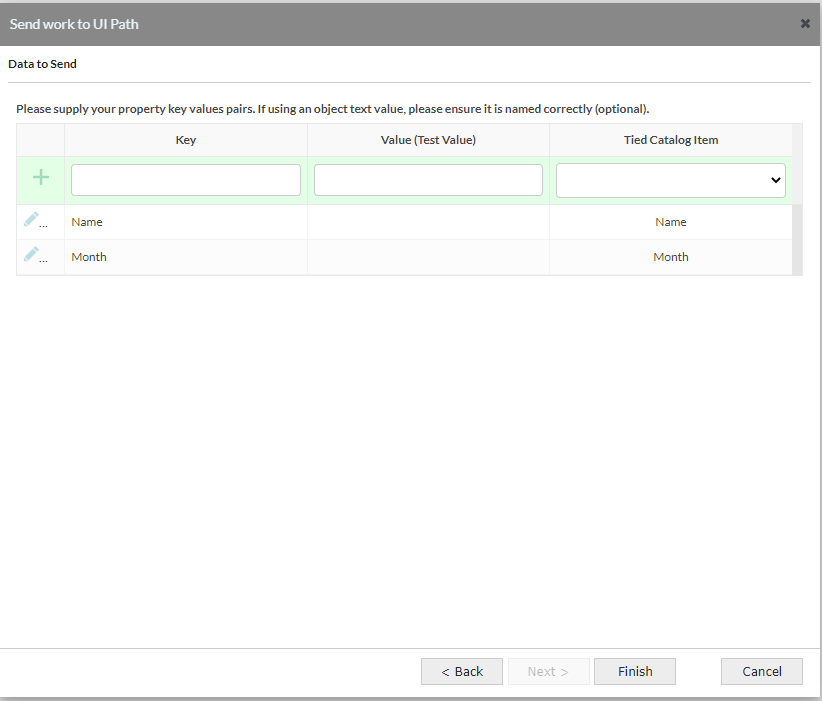
Step 2: Define Data to Send
The next screen in the wizard asks for a data structure to send to Power Automate. It is possible to send nothing, although it is an unlikely scenario. Fill in the grid with the value names and tied catalog items, adding more rows as needed.
Step 3: Setup in Power Automate
The next screen in the wizard provides the user with a JSON structure to copy. This is where we step over to Power Automate in a separate tab to begin configuration on that side.
Step 3.1 Create Cloud Flow
- In Power Automate, create a new cloud flow (from the web UI). Specify the trigger as "When an HTTP Request is Received"
- Set the "Who can trigger this flow" option to "Anyone
- Click "Use sample payload to generate schema" and paste in the JSON from the viabl.ai wizard
Step 3.2: Link to Desktop Flow
- Add an action of "Run a flow build with Power Automate Desktop"
- Select the flow you wish to trigger
- Map any inputs from the schema pasted earlier
Step 3.3: Respond to viabl.ai (if Force Wait selected)
- Add another action of HTTP
- Select POST
- Set the URI as Response_Path from the input schema
- Set the Body as a JSON output from the flow linked in 3.2. Note, this body should be a single layer of JSON and the keys should match the field names (case sensitive) in viabl.ai which should be updated.
Step 3.4: Update viabl.ai wizard
- In the first action on the flow (the trigger from an HTTP request), there is a URL produced as an endpoint to trigger this flow. Copy this URL.
- Save and activate the flow, then return to the viabl.ai tab
- Click next on the wizard and paste the URL into the field as prompted
- Click finish
You have now successfully set up a viabl.ai to Power Automate call.
