Send to UiPath
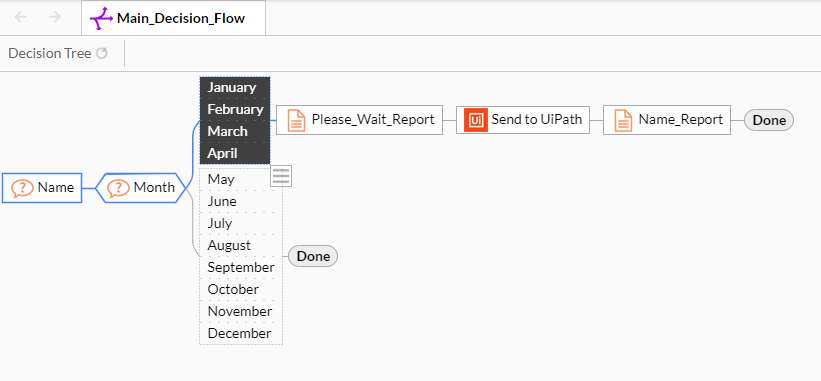
This build tool enables work to be sent to UiPath orchestrator to be executed. This can be through either adding an item to an Orchestrator queue, or triggering a job directly.
Before using the build tool, it is essential to set up an External App in UiPath cloud. THis is explained in detail in the UiPath documentation here. Ensure the Application Scopes set up include OR.Jobs and OR.Queues. Take note of the Client ID and Client Secret for later use.
Queues Method
This is the easier method. Viabl will inject an item onto a UiPath queue, which in turn should trigger a process (assuming this has been set up correctly at the UiPath end). Once the build tool has been dragged-and-dropped into the right place on the tree, fill in the basic details of the orchestrator connection:
- Orchestrator URL: this is the portion of the URL when viewing Orchestrator which includes "https://cloud.uipath.com/
/ " where and are replaced by the specifics of your implementation. - Client ID: gathered during External App setup in UiPath
- Client Secret: gathered during External App setup in UiPath
- Organization Unit ID (Folder ID): When in the relevant folder in orchestrator, this ID will be visible in the address bar as query parameter fid (so it will look like this &fid=1234567). Enter just the numbers.
Next, select Add to Queue and decide on the wait settings. Force Wait will pause the decisioning in Viabl until UiPath responds, which could take time if the priority of the case is low and the robots are all busy. Force No Wait will continue with decisioning without any regard for what UiPath is dong, but no response can be returned from the UiPath work.
On the next page, details about the queue are needed:
- Queue Name: this should match (case sensitive) the queue name in UiPath Orchestrator.
- Priority: This is the priority which will be set for all cases added to the queue during decisioning
- Completion timeframe: These options will set the required completion time on the queue item. Setting immediately will specify several seconds beyond the current time at runtime, with the other settings following this mindset. Anything greater than "Within a minute" should not be used with Force Wait in an interactive session (chat or dialog deployment)
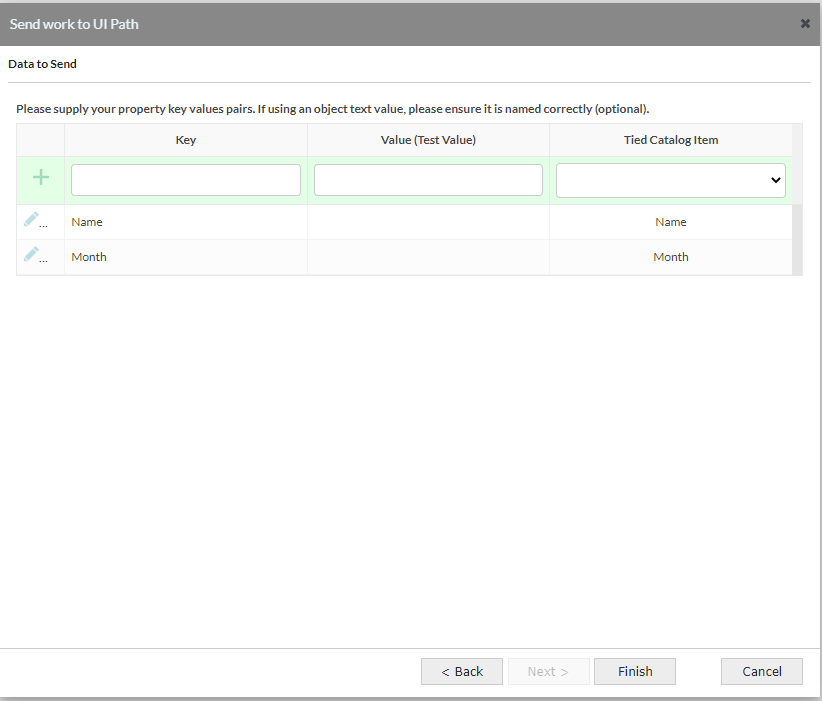
Finally, select the inputs from catalog objects (or hard coded text). The names of these should match, case sensitive, the input arguments for the UiPath process that will be triggered when the queue item is created.
Jobs Method
This method is slightly more complex, but can give greater control over the execution (assuming the environment is suited to it).Once the build tool has been dragged-and-dropped into the right place on the tree, fill in the basic details of the orchestrator connection:
- Orchestrator URL: this is the portion of the URL when viewing Orchestrator which includes "https://cloud.uipath.com/
/ " where and are replaced by the specifics of your implementation. - Client ID: gathered during External App setup in UiPath
- Client Secret: gathered during External App setup in UiPath
- Organization Unit ID (Folder ID): When in the relevant folder in orchestrator, this ID will be visible in the address bar as query parameter fid (so it will look like this &fid=1234567). Enter just the numbers.

Next, select Start Job and decide on the wait settings. Force Wait will pause the decisioning in Viabl until UiPath responds, which could take time if the priority of the case is low and the robots are all busy. Force No Wait will continue with decisioning without any regard for what UiPath is dong, but no response can be returned from the UiPath work.
On the next page, details about the job are needed:
- Release Key: this is an identifier for the deployed version of a process in UiPath. It is not easily obtained throuhg the user interface, hence making this option more difficult. The simplest method XpertRule has found of obtaining this number is to turn on Developer Tools in your browser (hit F12 for Chrome) and switch to the Network tab. From the Processes area of Orchestrator, select the three dots menu to the right of the desired process and click Edit. Inside the developer tools window, several new entries will have appeared. Select the one which begins Release(*******) where the *s are a number. On the Preview pane, expand the main section and copy the value for Key, this is the Release Key.
- Set a priority for the job
- Specify the number of jobs to start, generally this need only be 1, but in some circumstances there may be a desire to trigger multiple sessions of the same process.
Finally, select the inputs from catalog objects (or hard coded text). The names of these should match, case sensitive, the input arguments for the UiPath process that will be triggered when the queue item is created.

